
Deploy an Astro Blog to Cloudflare Pages
In this post we will look at deploying an Astro blog template to Cloudflare Pages. When looking at various solutions for this very blog you are reading, I had considred different hosted solutions. I’ve used Ghost and Wordpress before, but wanted to use this as an oppurtunity to learn Astro. While Ghost and Wordpress offer a SaaS and self-hosted solution, there is a cost to hosting and no learning value.
Table of contents
- Why Astro and Cloudflare
- What You Will Need
- Setting Up Your Project
- Deploying to Cloudflare Pages
- Adding a Custom Domain
- Wrapping It Up With CI/CD
- What’s Next?
Why Astro and Why Cloudflare?
The primary reason that I chose Astro was because I wanted to learn something new. Astro has the added benefit of supporting Markdown rendering natively, as we will see later in this blog. The reason I chose Cloudflare was mainly for cost. You can host a Cloudflare Page and use Cloudflare DNS for (almost) free, until you start to see significant traffic. So for the purpose of running this as cheap as possible, Cloudflare will suffice.
What You Will Need
- GitHub or GitLab (optional)
- Cloudflare Account
- Nodejs
- Wrangler CLI
Setting Up Your Astro Project and blog tempate
- Create your Astro project
npm create astro@latest
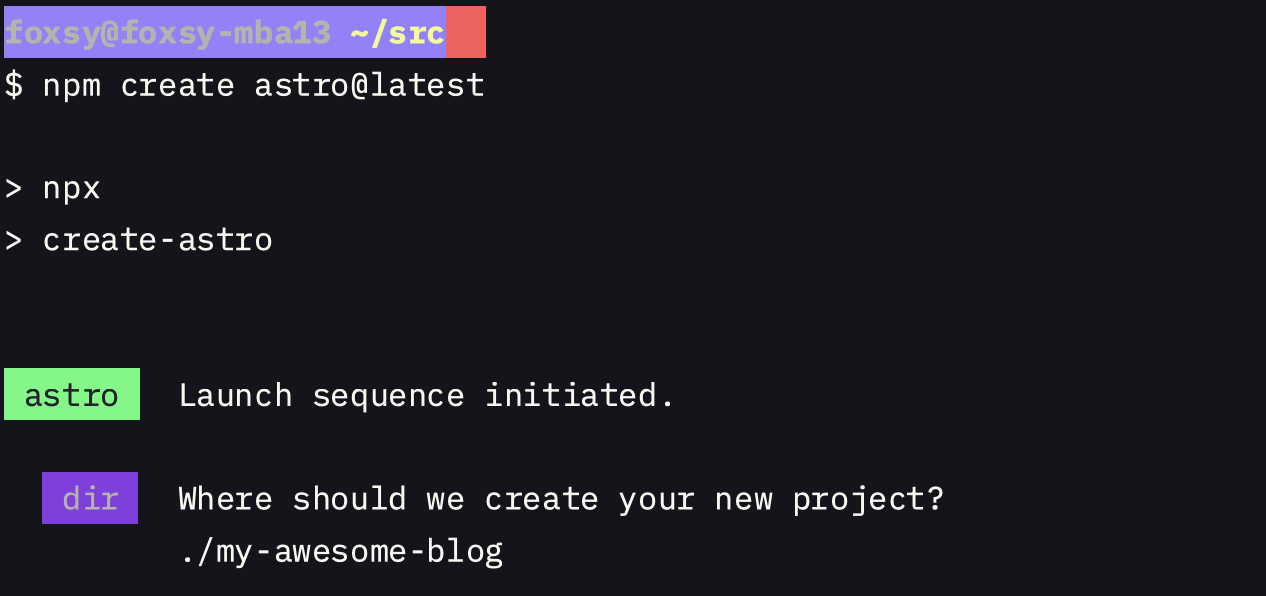
- Use the blog template as a starting point
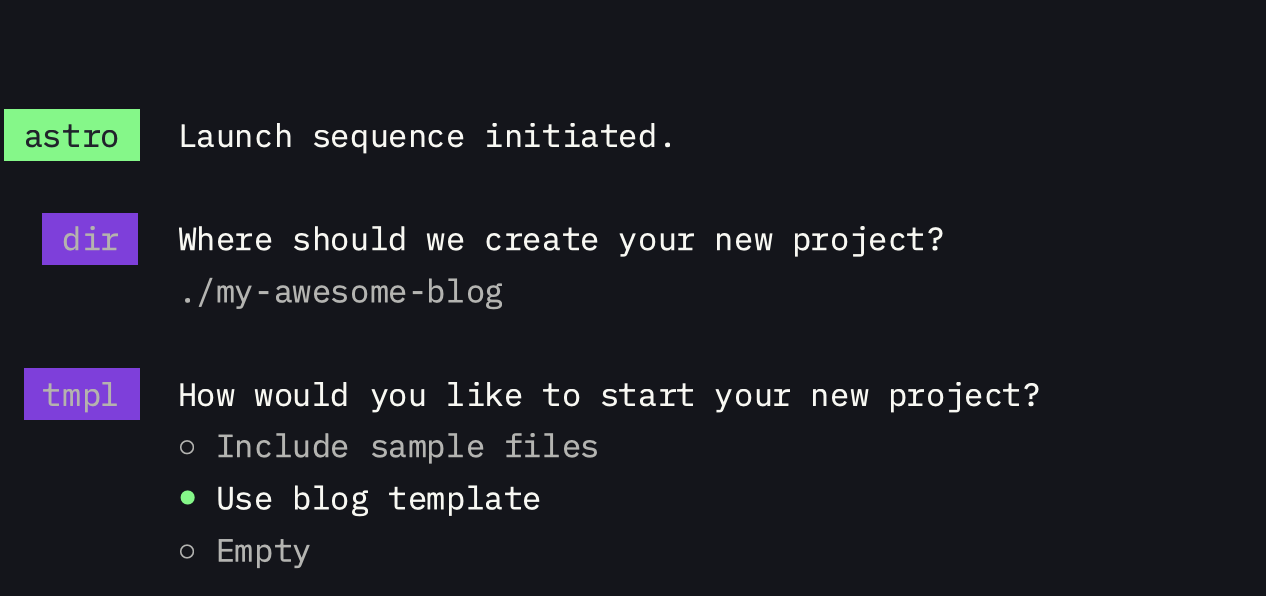
- Use TypeScript (strict) is probably the safest option here
(Install the dependencies)
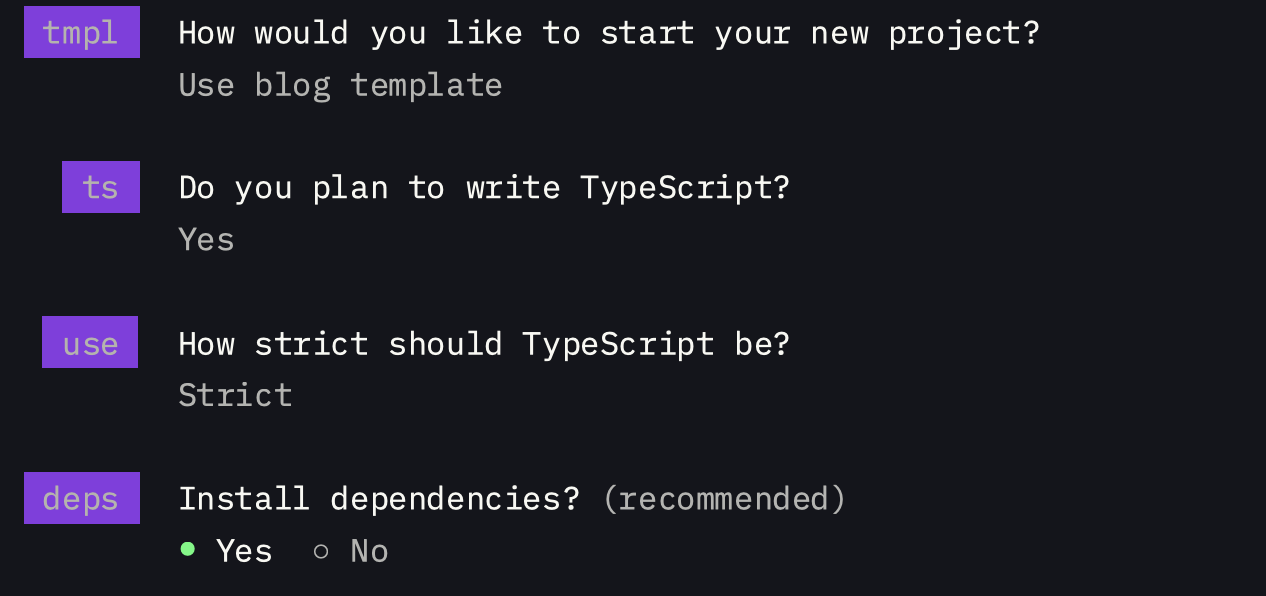
- You can optionally choose to initialize a git repo (I’m saying no here as I have one)
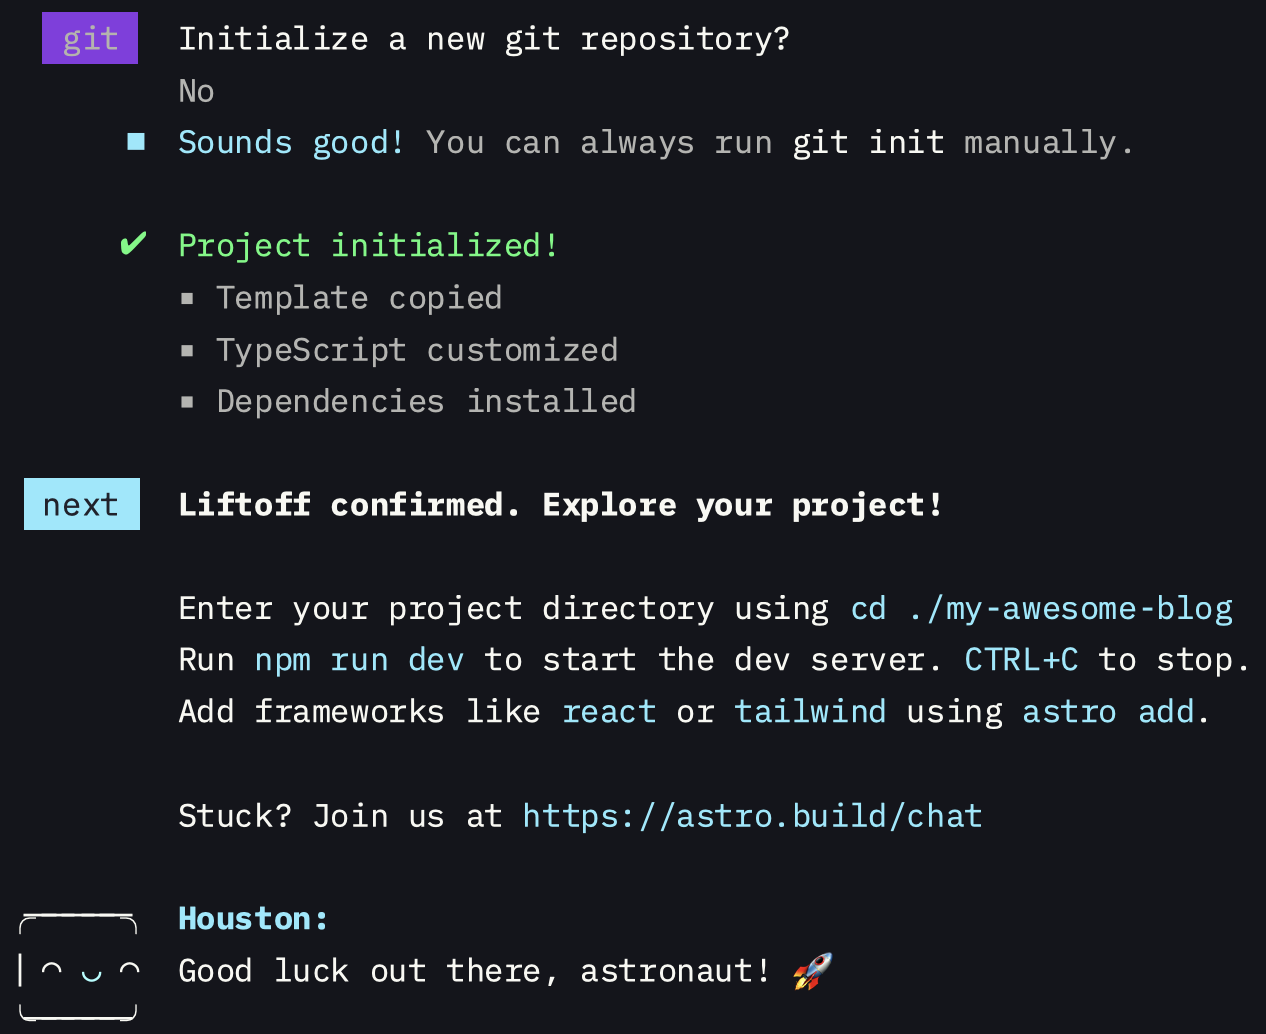
- Now you can run Astro locally with Vite to check out your blog!
cd my-awesome-blog/
npm run dev
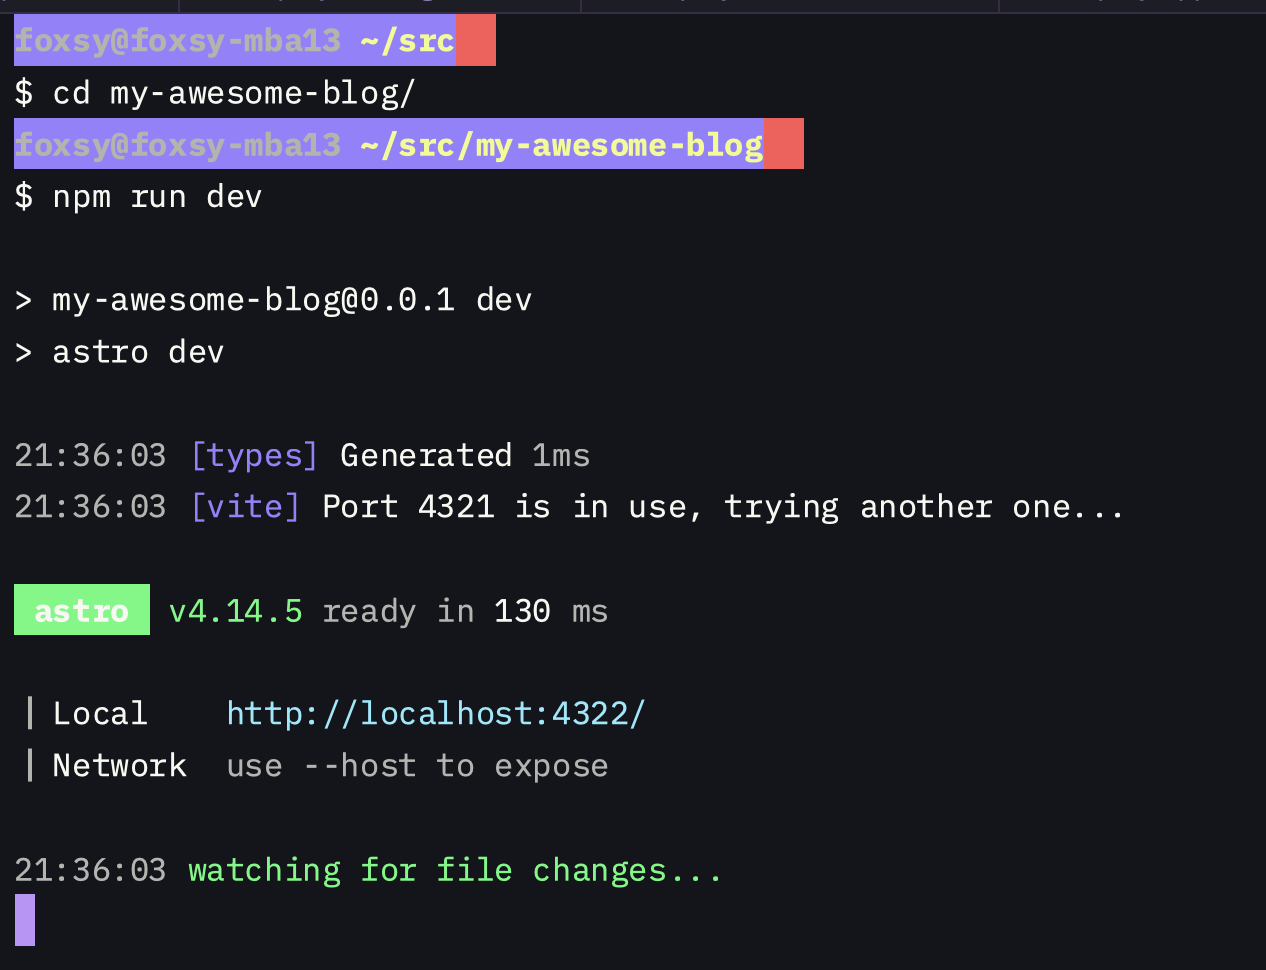
NOTE: Normally this runs on port 4321, but I happen to be running another project at the time
🎉Congrats🎉 you can visit your new blog by opening your browser and
going to http://localhost:4321

Before we celebrate, we should probably add our own content and deploy this blog somewhere everyone can read it. One of the reasons I chose Astro for my blog is that it supports rendering Markdown natively and can support MDX with the mdx_integration.
Since we are using the blog template that Astro provides for us,
we can easily add new content by creating a file in the src/content/blog directory.
cd src/content/blog
touch why-the-mandalorian-is-awesome.md
Open the file you just created in your favorite editor and add any content you like (or feel free to use the example content below).
---
title: 'Why The Mandalorian is so awesome!'
pubDate: 2024-08-21
description: 'My blog about why I think The Mandalorian is such an awesome character'
author: 'Foxsy'
image:
    url: 'https://upload.wikimedia.org/wikipedia/en/a/a1/TheMandalorian.jpg'
    alt: 'The Mandalorian'
tags: ["astro", "blogging", "mandalorian", "disney", "blog"]
heroImage: 'TheMandalorian.jpg'
---
# The Mandalorian

Welcome to the galaxy far, far away! In this blog, we’ll explore the adventures of **Din Djarin**—the _Mandalorian_ himself—as he navigates through a lawless galaxy post-Empire. From the mysterious origins of **Grogu** (affectionately known as _Baby Yoda_) to the iconic phrase, "_This is the way_," there's so much to uncover.

- **Episodes** breakdowns and _hidden_ Easter eggs.
- The significance of **Beskar** armor and Mandalorian culture.
- **Behind the scenes** insights and **concept art**.

> "Wherever I go, he goes." – The Mandalorian

Grab your **Darksaber** and [join the journey](https://starwars.fandom.com/wiki/Din_Djarin) as we delve into the Star Wars universe!
NOTE: The section inside of the
---is specific to Astro and is used when rendering the blog template, which can be seen on their example on github
You will notice that it detects the file change automatically, there is no need to reload or stop/start the service.

Let’s go check out our new blog!

With that taken care of we can move on to the next step, deploying to Cloudflare Pages.
Deploying to Cloudflare Pages
We can create the Cloudflare Page via the Cloudflare dashboard
so that it creates an empty project. After the project is created
we can use the wrangler CLI tool to deploy the static files to Cloudflare Pages.
NOTE: Ensure you have followed the instructions to get the
wranglertool installed and logged into your account
- Create the Cloudflare Page before deploying
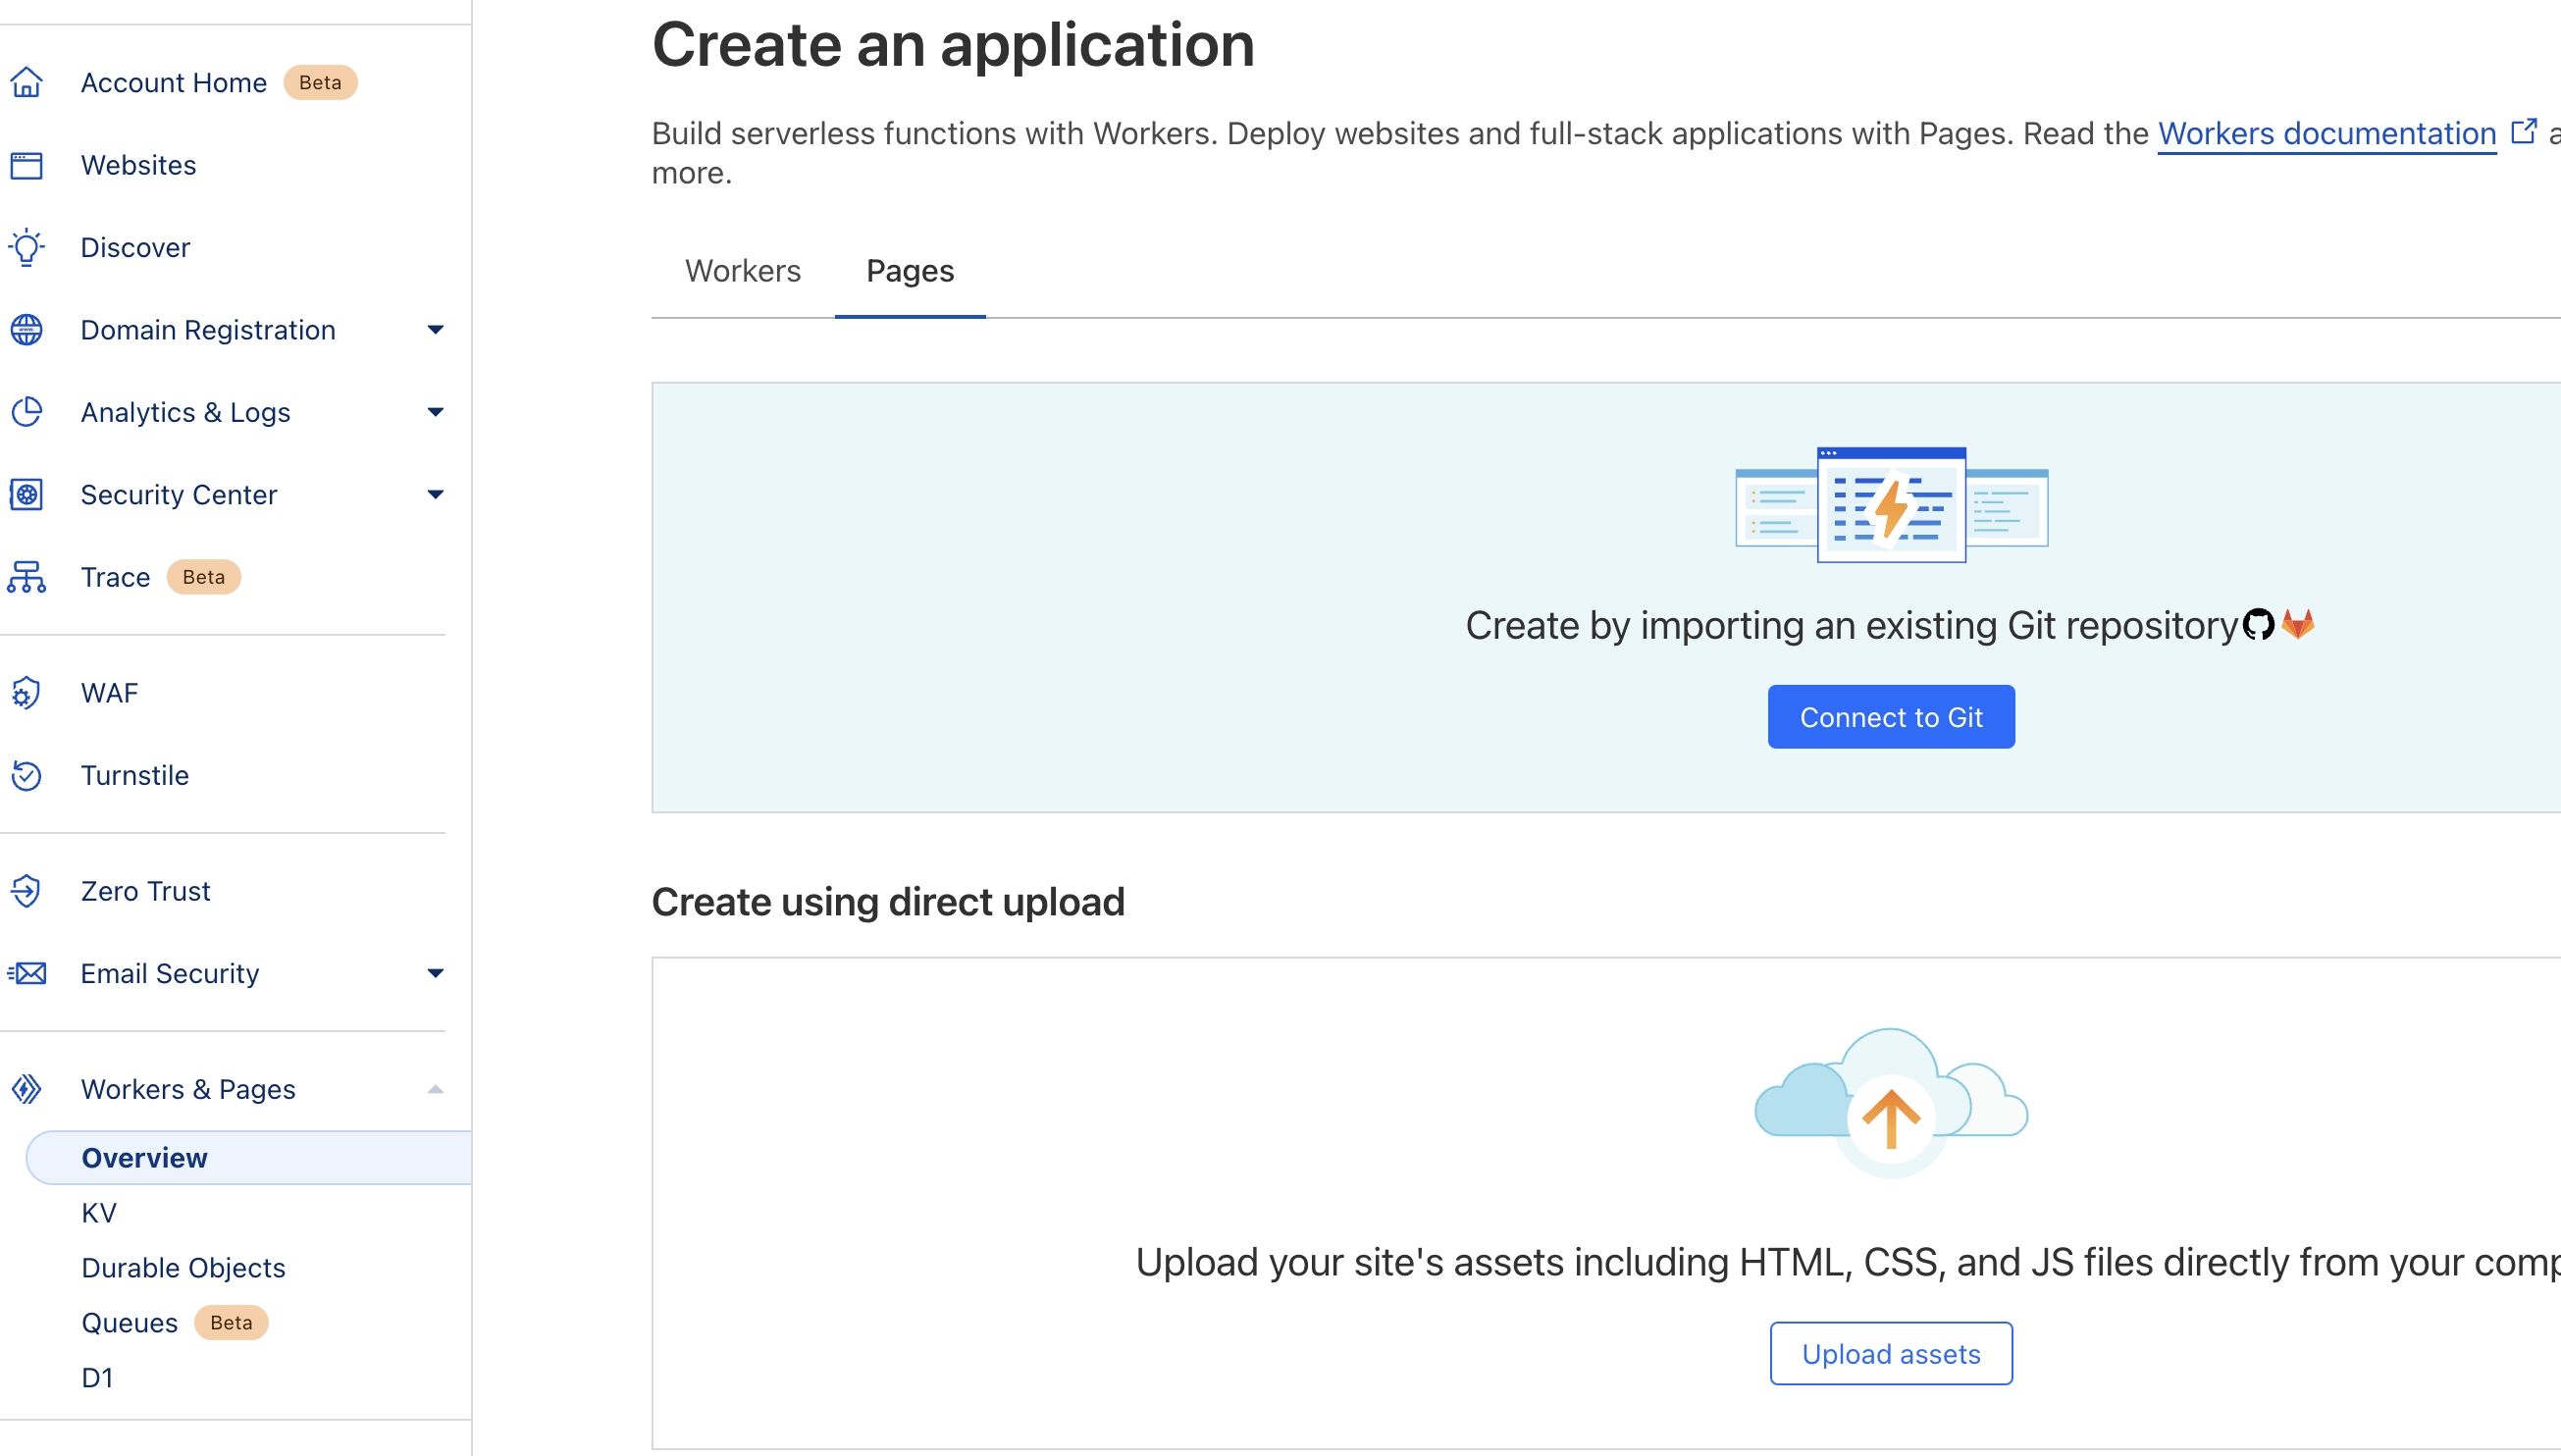
NOTE: Click “Upload assets” here to continue to naming the project
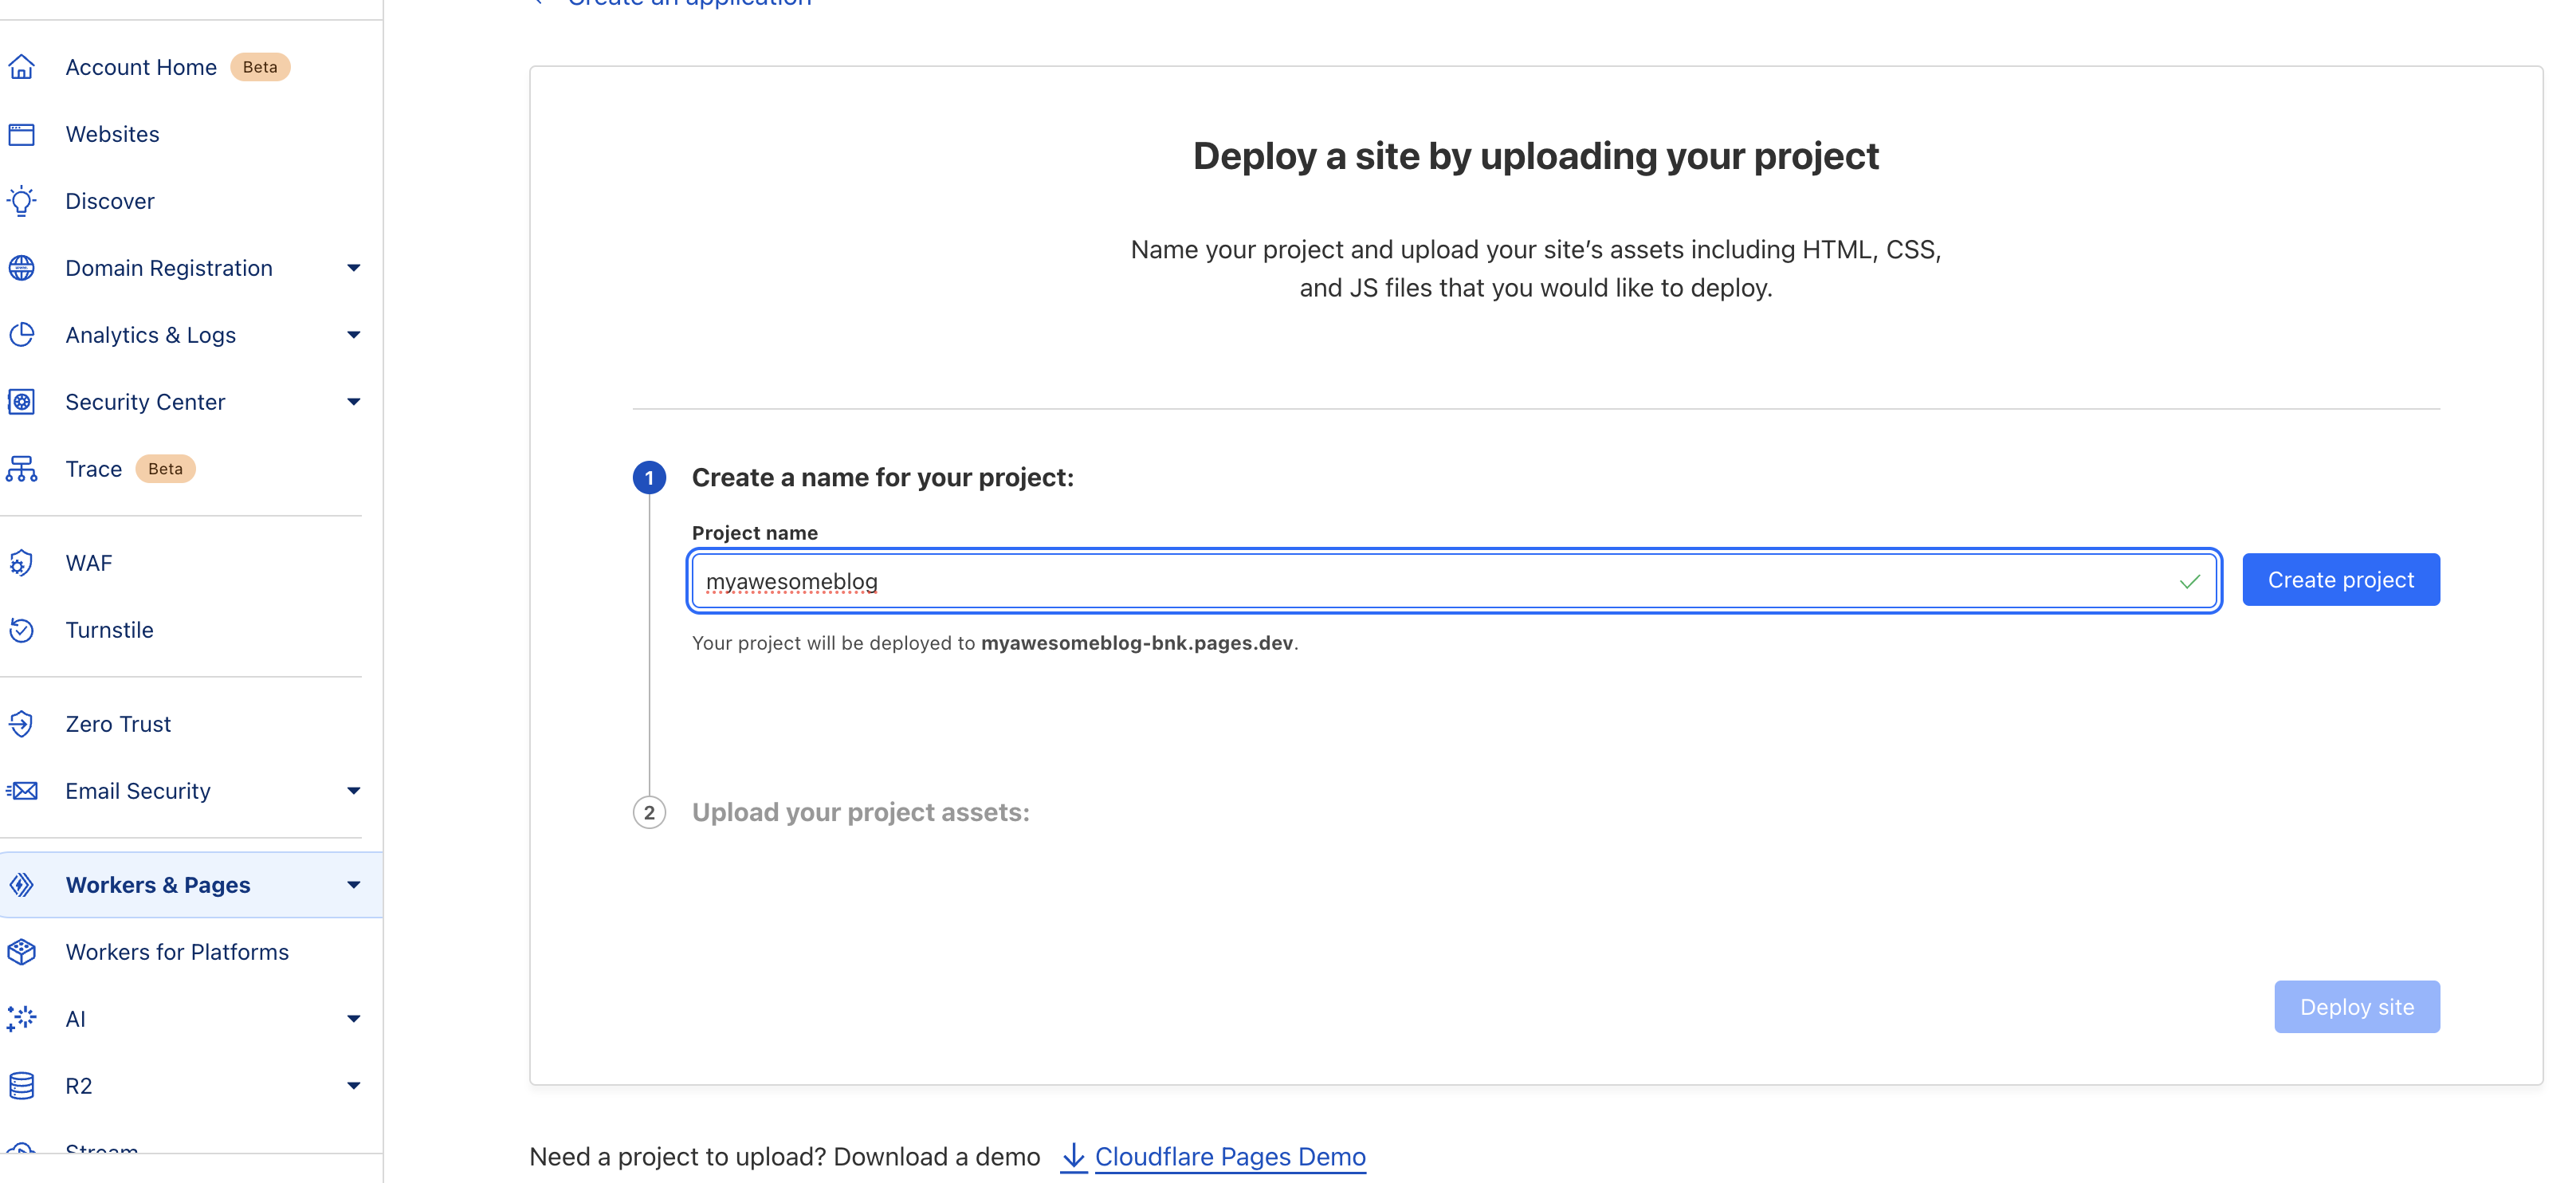
NOTE: Name your project and click “Create Project”
- Build the Astro project so that it can be deployed to Cloudflare Pages
npm run build
NOTE: This will generate the static files and place them into the
distdirectory
- Deploy with
wrangerCLI tool
wrangler pages deploy ./dist --project-name=myawesomeblog --branch=main

- Visit your deployed site!
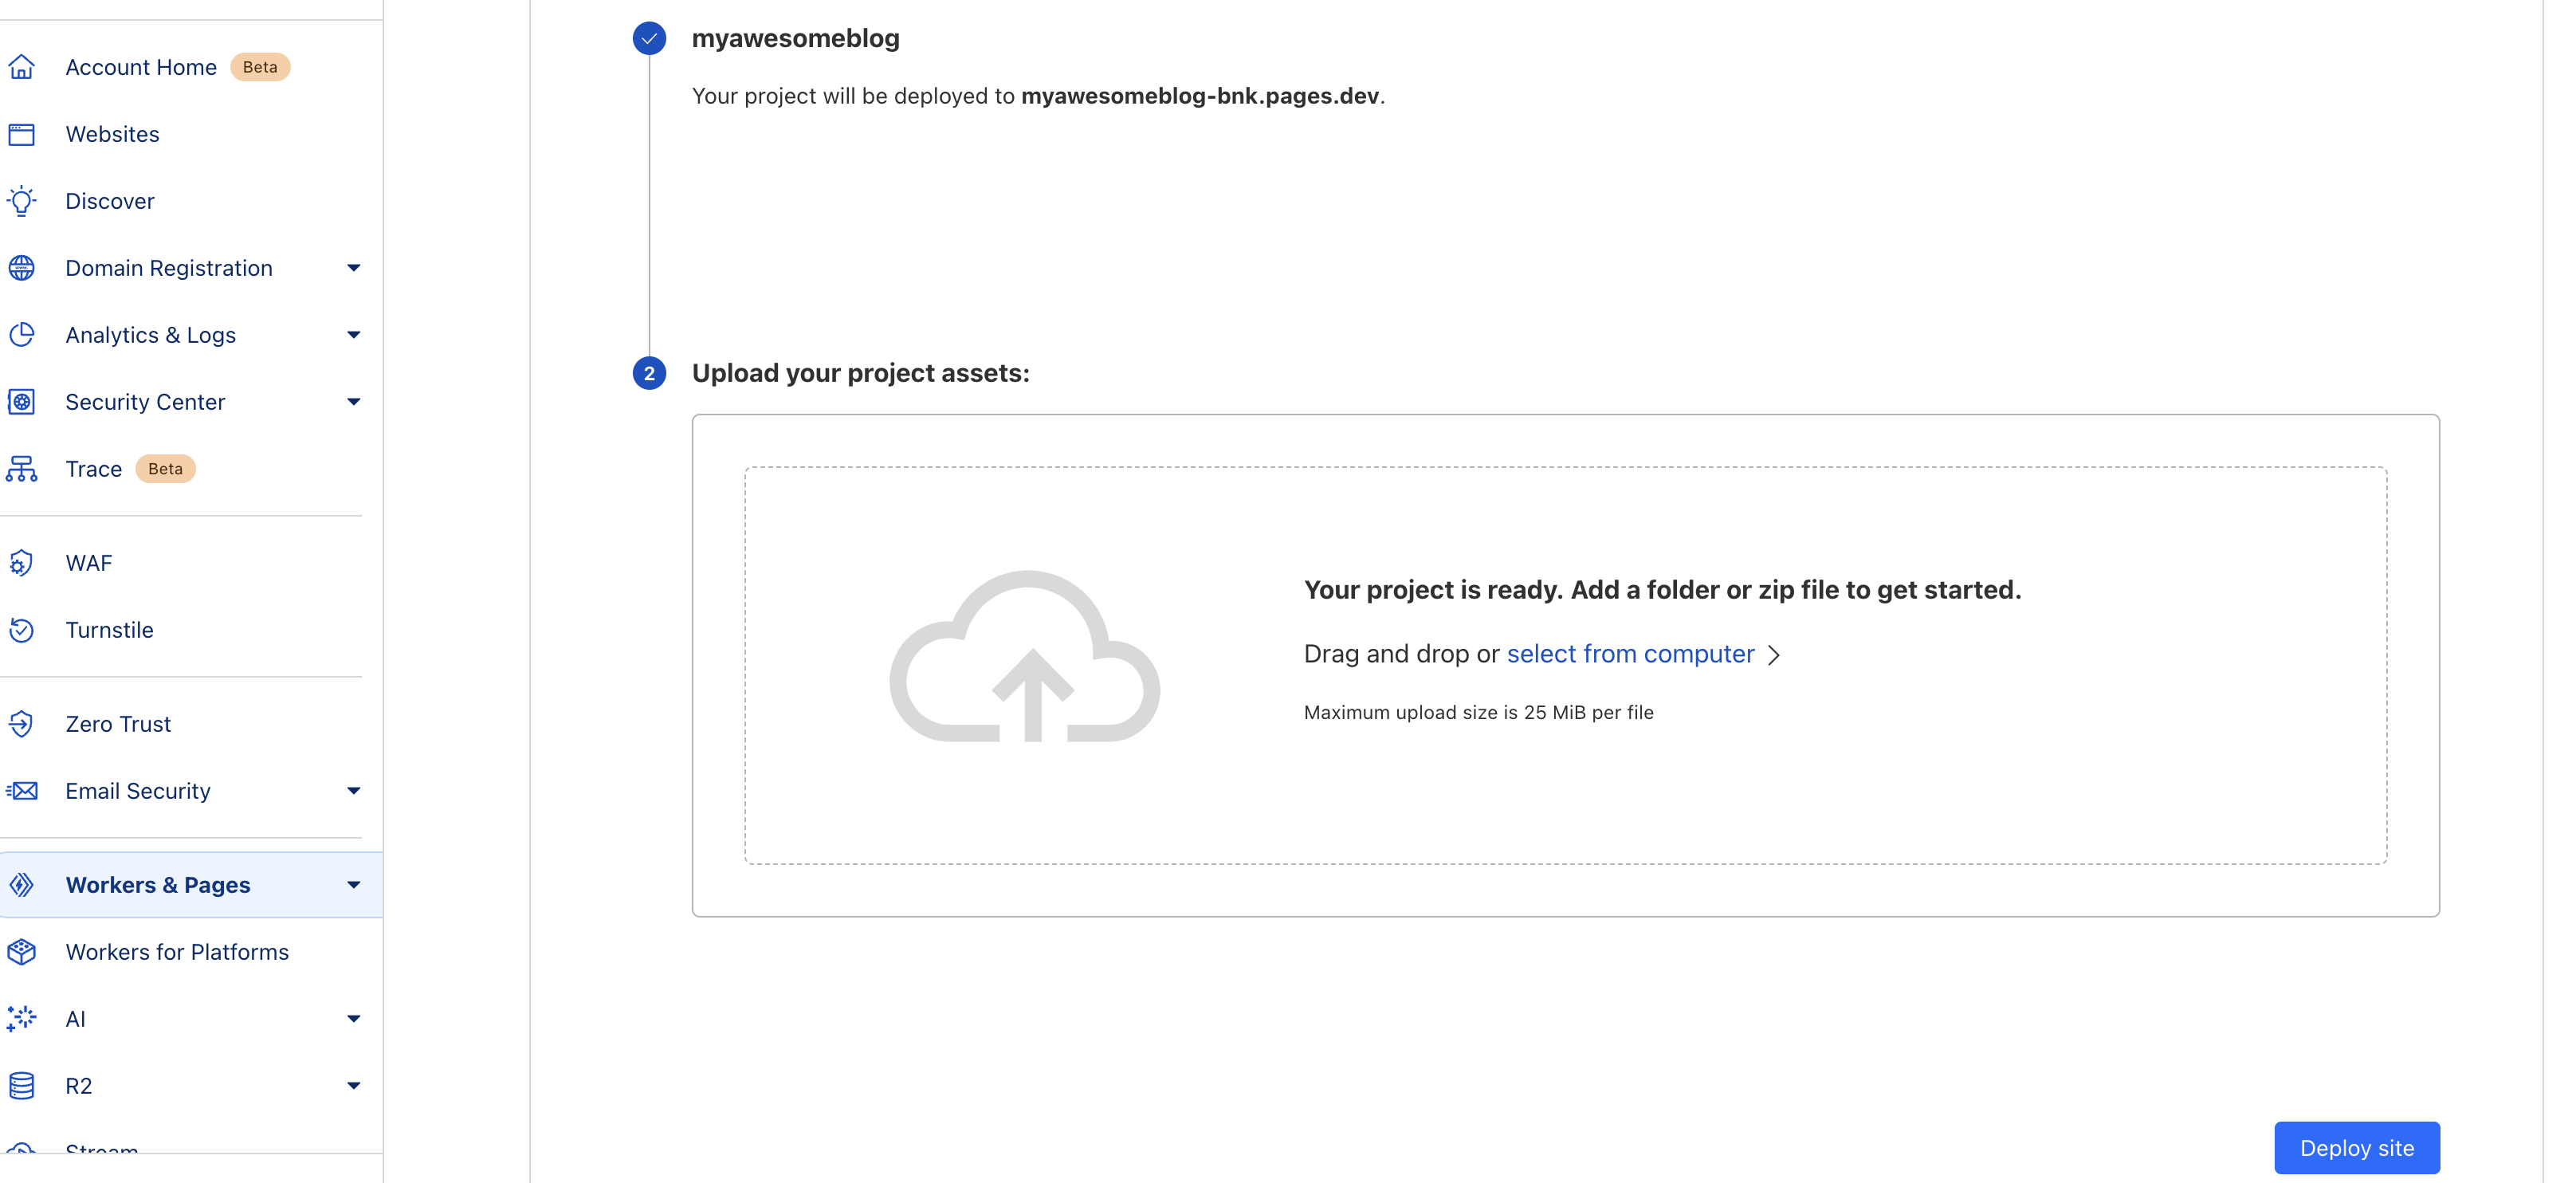
NOTE: The last page when you were creating your project has the Cloudflare Pages URL (in my case myawesomeblog-bnk.pages.dev)
Adding a Custom Domain
You can add a custom domain name so that your Cloudflare Page points to a real domain instead of Cloudflare’s pages.dev.
If you are using Cloudflare to manage DNS you can follow their docs on setting up a custom domain
Wrapping It Up With CI/CD
As a last step, instead of deploying manually each time with the wrangler command line tool,
we can set up CI/CD to deploy when we merge to main. The following is a good start
for deploying automatically with GitLab CI/CD. You will want to update the part
where the project name is specified --project-name=myawesomeblog
and you will need to set the CI/CD environment variables for your
Cloudflare account ID and Cloudflare API token
image: node:20.10

before_script:
  - git submodule update --recursive --remote
stages:
  - build
  - deploy

cache:
  paths:
    - node_modules/
    - .cache/

build:
  stage: build
  script:
    - npm ci
    - npm run build
  artifacts:
    paths:
      - dist/ # Astro builds the site into the "dist" directory by default

deploy_main:
  stage: deploy
  image: node:20.10
  before_script:
    - npm install -g wrangler --unsafe-perm=true
  script:
    - wrangler pages deploy ./dist --project-name=myawesomeblog --branch=main
  rules:
    - if: '$CI_COMMIT_BRANCH == "main"'
  variables:
    CLOUDFLARE_API_TOKEN: $CLOUDFLARE_API_TOKEN
    CLOUDFLARE_ACCOUNT_ID: $CLOUDFLARE_ACCOUNT_ID
NOTE: If you are using GitLab you will add the above into your git repo as
.gitlab-ci.ymland add your API token and account id as variables in the GitLab CI/CD settings.
What’s Next?
Now that we have our Astro blog template running on Cloudflare Pages, we can start thinking about customizations. It would be good to update all fo the social links that come in the default template, maybe add some custom graphics and favorite.ico, updating the about page, and the main page to fit your content. Once you feel like you have made the Astro blog template your own, you can think about adding more customizations (maybe a contact page or comments section). Be sure to check out the Astro.build docs to learn more!
